Install ADONIS
Regardless of which deployment scenario applies to you, the basic installation routine for ADONIS is always the same.
Before installing, make sure that all Hardware/Software Requirements are met.
Initialise Installation
- Double-click
setup.exein the folder 02 Rich Client on the installation medium.
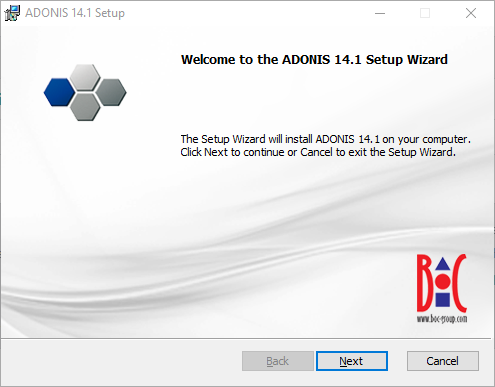
The installation routine loads the InstallShield Setup Wizard:

- Click Next.
Component Selection
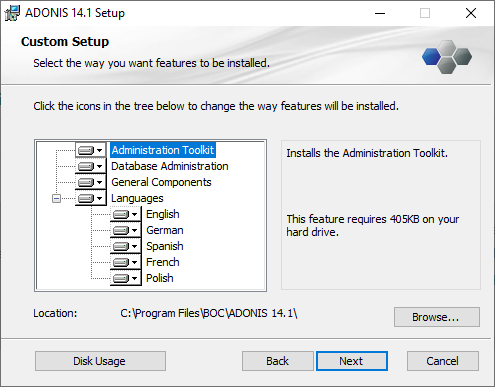
The next dialogue window lists all available installation components.

By default all components are selected for installation (icon
). Some components can be
deactivated (icon
). The components
in detail:
Administration Toolkit
Installs the Administration Toolkit, which is used by ADONIS administrators for administrative tasks such as creating users or assigning rights.
Database Administration
Installs tools for creating and managing databases.
General Components
Installs general components required by ADONIS.
Languages
The component "Languages" contains all installable ADONIS user interface languages as sub components. The base language of the configuration is already selected and cannot be deactivated. If you select more than one language, you will be able to start ADONIS in any one of these languages.
If you wish to change the target directory of the installation:
- Click Browse... and select a destination folder.
To continue with the installation:
- Click Next.
Start Installation
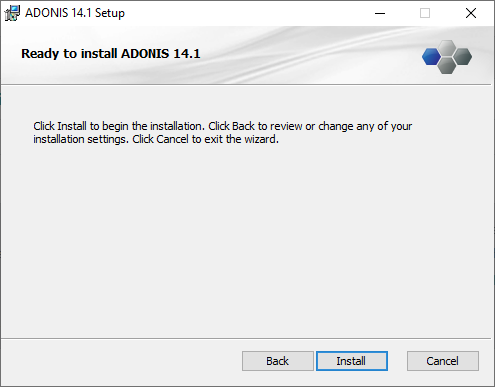
At the end of the configuration there is a final check, enabling you to go back and make consistency checks and changes, if desired:

To start the installation:
Click Install.
Allow the Windows security check to run the installation.
If you do not have the user rights to install a program, the setup will end at this point.
The Installation Process
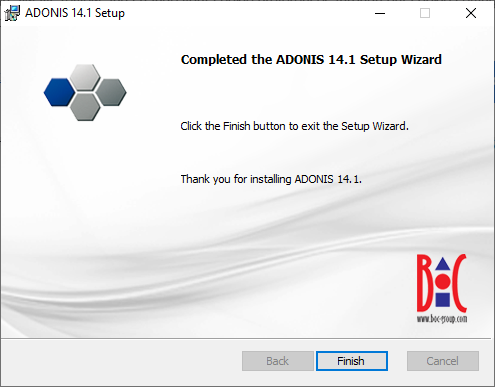
During the installation, a status window informs you about the progress. At the end a message appears, informing you about the successful installation:

- Click Finish.
The installation wizard closes. The installation is complete.