Welcome to ADONIS!
Thank you for your interest in ADONIS! This Quick Start Guide helps you explore the key features in a Premium Test Account. It walks you through the first steps so you can test ADONIS effectively and unlock the full potential of our software.
You don’t need to follow the steps in the exact order. Skim once, then focus on the parts you need most.
Before You Start
- You have received an email with a credentials-sheet. This sheet contains your and your colleagues login details and a link to the test account.
- Your test account already includes the ADOmoney Bank sample content by default.
- (Optional) If you received your own migration package (e.g., a customer demo), you can import it later.
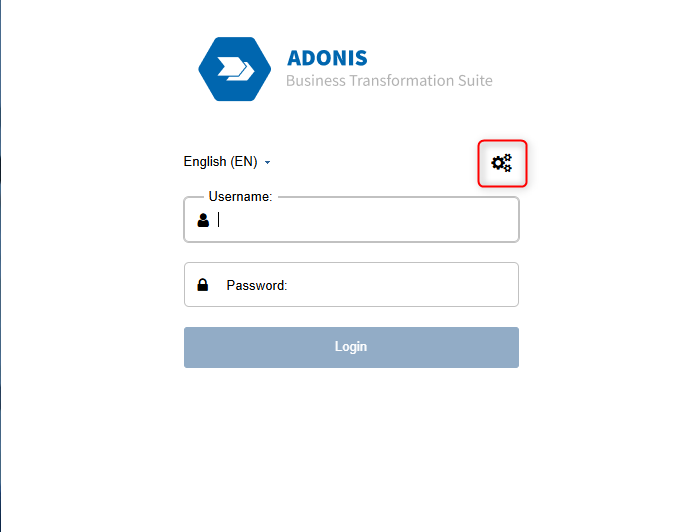
Login
Click the web client URL link in the sheet to access the test account.
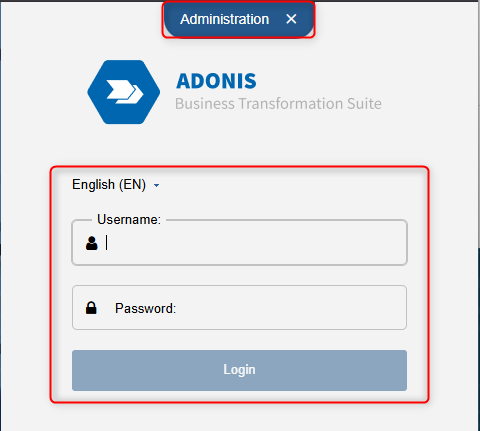
Click Administration (from the login page or your user menu) to open the ADONIS Administration, and use the credentials from the credentials-sheet with the user type "Administrator".
Change your password upon your first login and make sure to remember it!
You're all set now! You can start exploring the Administration Toolkit!
Get to Know the ADONIS Administration and Settings
To help you quickly navigate the ADONIS administration and configure the right setup for your team, we have compiled the most important information for you. Below, you will find a list of videos and links to helpful resources.
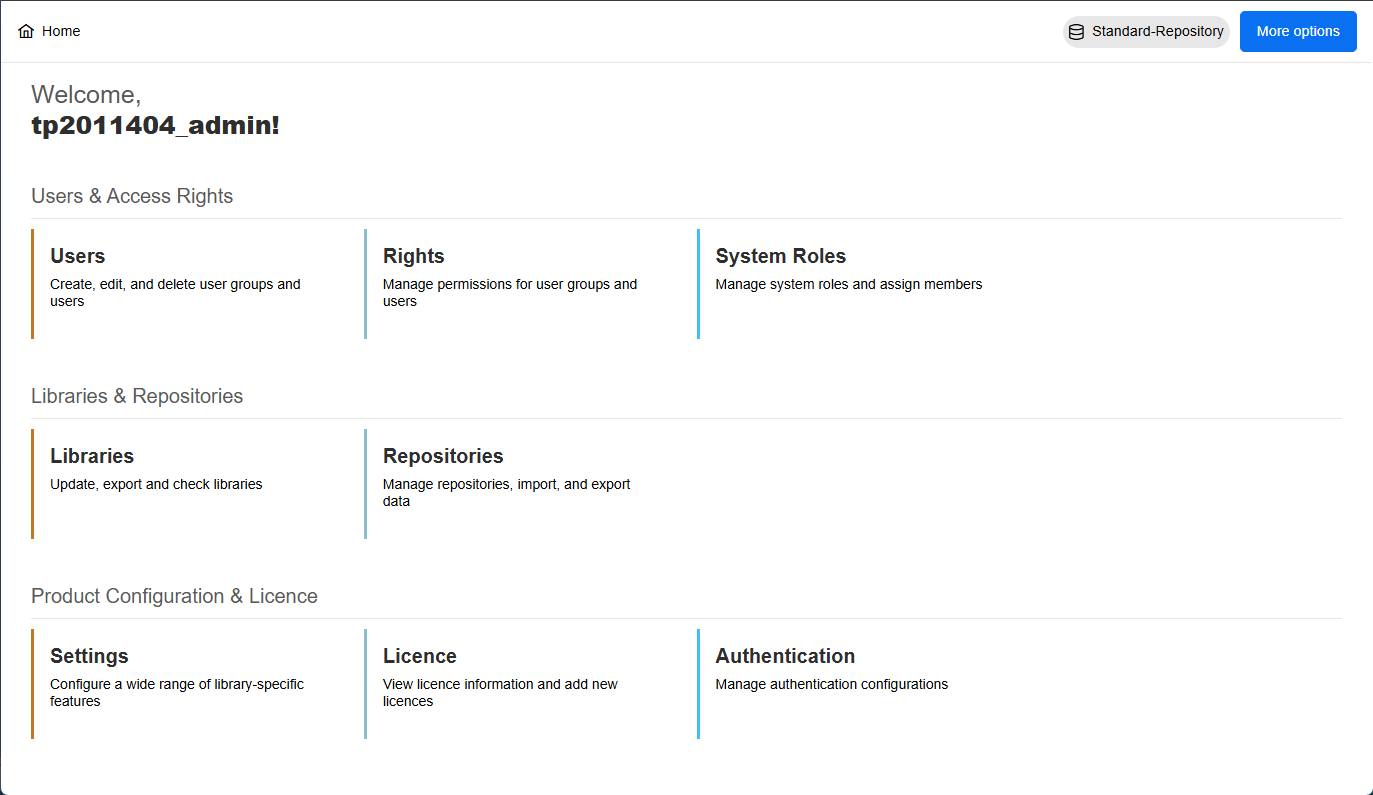
Important Settings
Users: Management of users and user groups.
Permissions / Rights: Assignment and management of permissions (system roles & scenarios).
System Roles: Management of system roles (Design & Document, Control & Release, Read & Explore).
Repositories: Management of repositories; import/export of migration packages and models/objects.
Settings (Component Settings): Start model, state filter for Read & Explore, textual view defaults, templates.
Helpful Videos to Get Started
To make it easier for you to get started and test, we have selected a video from our tutorial series with useful first steps in ADONIS:
Get an overview of the key components of administration.
Prefer reading over watching? In our ADONIS Administration Help you’ll find all the settings described in detail.
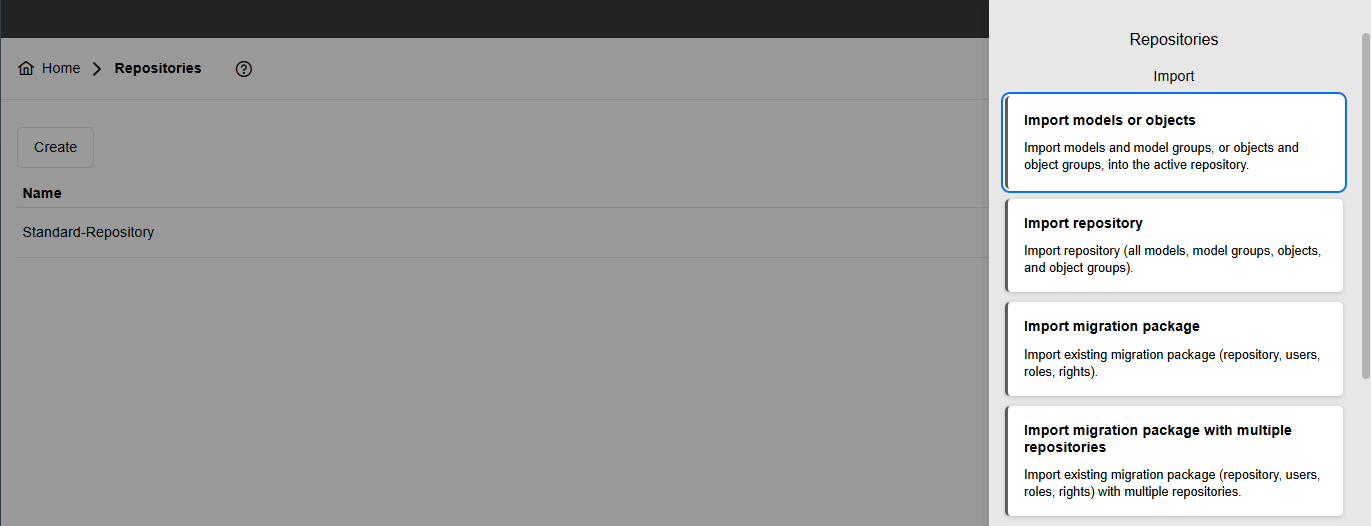
(Optional) : Import your Demo Content/Own Migration Package
Only if you have your own demo package: go to Repositories → More options → Import repository / Import migration package → Upload → Insert into active repository → Import → Review. Then select that repository in the web client.
Next: Adjust Your Users
Normally, ADONIS accounts in production are managed via SSO (e.g., SAML/SCIM). However, in test accounts, it’s common to use the local users that are already prepared for you. You can find these accounts in Administration → Users or on the credentials sheet. There are just a few details you may want to adjust:
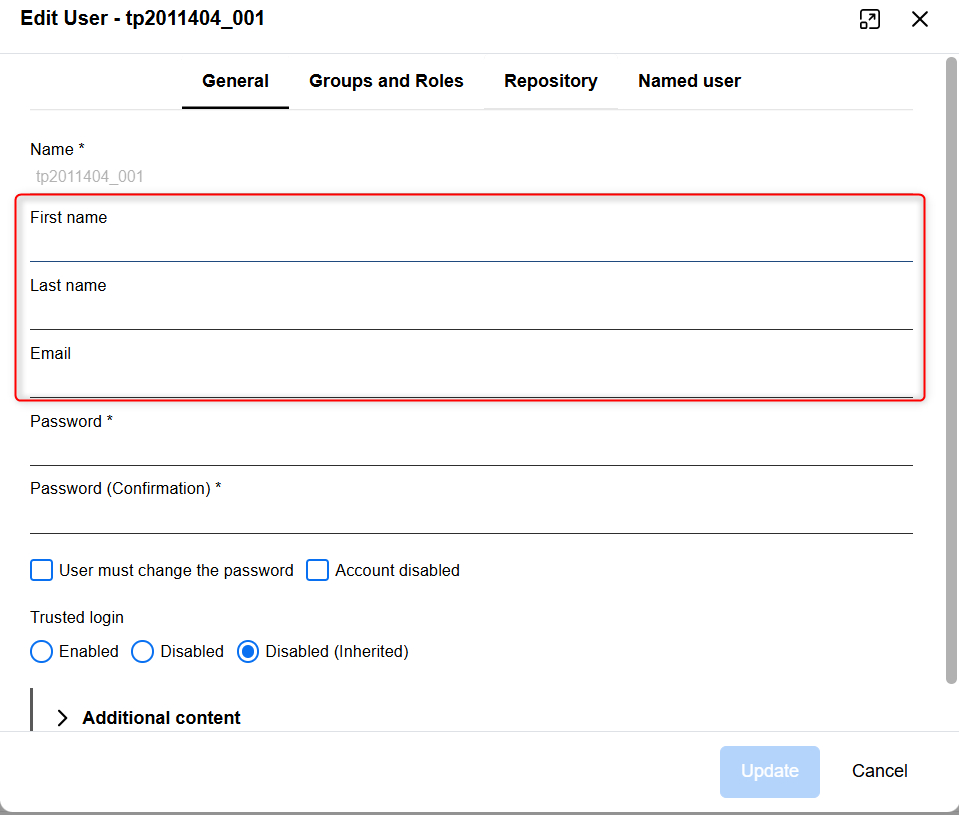
Go to Administration → Users → select a user → Edit (⋮) → General.
Name: Enter the names of your testers.
Email: Make sure an email address is provided for each user (required for password resets).
Distribute the login details from the credentials sheet and share the ADONIS URL.
Difference between Reader and User (and Admin) in tests:
In the test account, you will most likely use the User role to fully test ADONIS’s features. However, in general, we differentiate between:
Reader: Users assigned to this group have read-only access in the Read & Explore scenario.
User: Users assigned to this group have full write access and can switch between the Read & Explore, Design & Document and Release & Control scenarios.
Administrator: Users in this group have full access to the administration environment.
Next: Get an Overview of Your Testers and Group Them
Your credentials sheet lists the preconfigured Administrators, Users, and Readers. Your responsible BOC contact has already created groups and assigned scenarios. Your task here is simply to validate that everything matches the sheet.
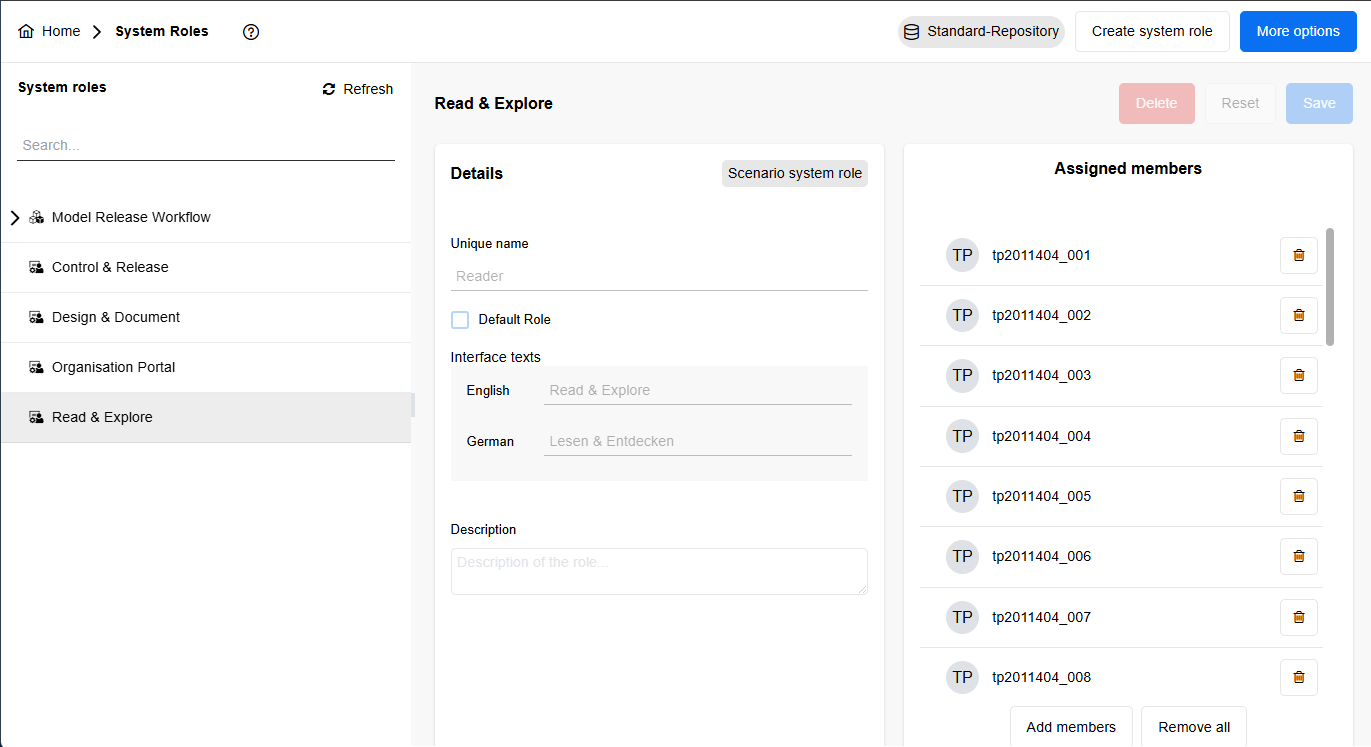
Open Administration → System Roles & Scenarios and look at the Scenarios overview. You should see the three scenarios relevant for testing:
Design & Document, Read & Explore, and Control & Release. Now check the assignments against the sheet: the Users listed there should appear with access to all three scenarios, while Readers should be mapped only to Read & Explore.
Do a quick spot-check in the web client: sign in once as a Reader to confirm Read & Explore opens and shows only Released content; sign in once as a User/Modeller to confirm Design & Document opens; and, also sign in as a Process Owner/Reviewer (You are also using the User for this) to confirm Control & Release is available.
If anything is off, don’t change the test configuration yourself but contact your BOC Account Manager/Hotline with the account name, the expected scenario(s) from the sheet, and (ideally) a screenshot of the Scenarios overview so they can correct it.
Next: Get familiar with Rights and Visibility (and use ADOmoney bank content as your example)
Open Administration → Rights to review what each audience actually sees and can do. Switch between Users and Readers (as listed on your credentials sheet) and you’ll get a clear picture of permissions across Models, Objects, Users, Components, Language, and Metamodel. You don’t need to rebuild anything here, but this is where you validate and, if needed, lightly adjust visibility so people only see what they’re supposed to.
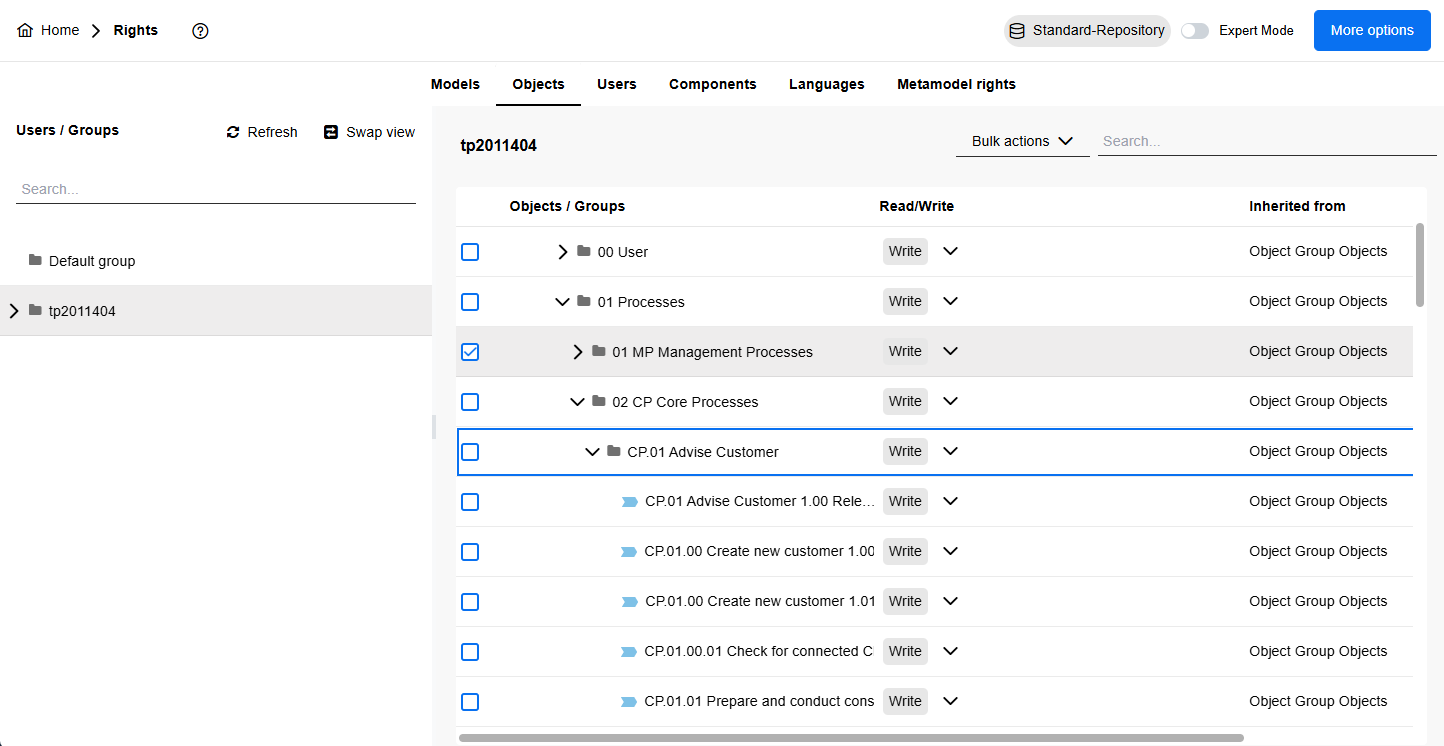
It is advised to use the ADOmoney Bank content as your concrete reference at this point. In the Rights view, expand the repository tree to 01 Processes → 02 Core Processes → CP 0.1 Advise Customer.
For Readers, ensure this area is read-only so the process is visible in Read & Explore once released. Switch to Users/Modellers and confirm they have edit where you expect them to work (for example, on the same Core Processes branch or a dedicated modelling area).
Rights typically inherit down the tree, so a read grant on 02 Core Processes will flow to CP 0.1 Advise Customer and its submodels unless you override it.
While you’re here, validate the other dimensions that shape the experience. Object rights should allow everyone to see items referenced in notebooks (Roles, Org Units, Applications) without exposing maintenance folders broadly.
Component rights keep the UI focused - Readers get Read & Explore, Modellers get Design & Document, and only those involved in approvals see Control & Release. Do a quick round-trip check: as a Reader, open Read & Explore and navigate to CP 0.1 Advise Customer to confirm it’s visible (and the interface respects your Language rights).
As a User/Modeller, open Design & Document, edit where permitted, and verify you don’t see areas you shouldn’t. If something looks off, adjust the specific right at the folder or model level (least-privilege first) rather than granting broad access high up the tree.
At a later stage when you are more familiar with the tool, you might want to explore further possibilities. For example, with Language rights, you can limit consumption to a region’s language so, for instance, German-speaking Readers open the portal and only get German content. And Metamodel rights let you hide advanced element types or attributes for newcomers, keeping forms lean and approachable.
Next: Configure the Process Portal (What to set and what to leave as is)
Go to Settings → Read & Explore → General. This page controls the experience for the largest audience in your company: Readers. Here you manage the portal’s core behaviour via simple checkboxes. For governance and compliance reasons, we strongly recommend leaving the default settings as they are - they enforce key safeguards like showing only released content and keeping the portal consistent for everyone.
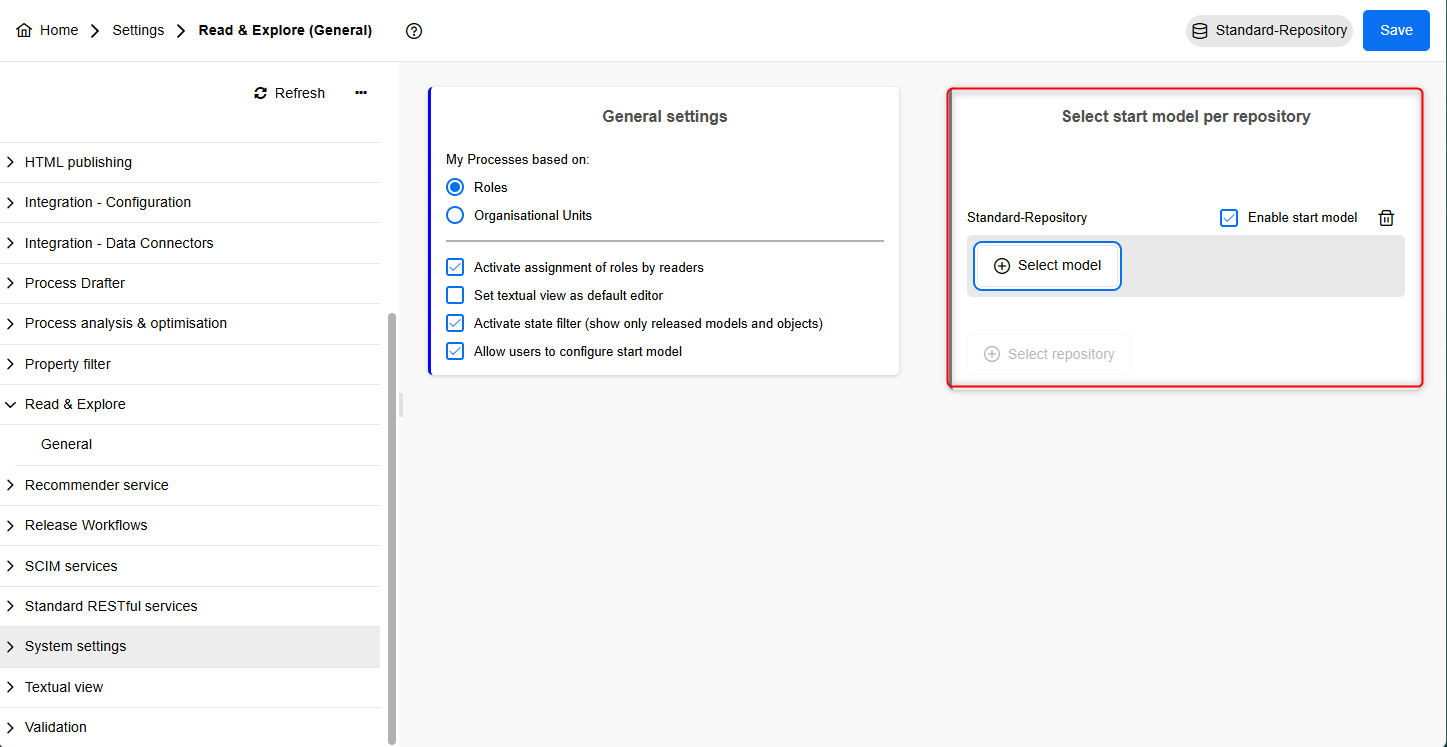
One safe change you can make here is the Start Model per repository. By default, the Process Landscape of the ADOmoney Bank sample content is set. Once you’ve created your own detailed Process Landscape, feel free to set it as the entry point so every Reader lands there first. This helps orientation and makes the portal feel tailored to your organization without weakening governance.
You might want to import your own BPM Assets or Models at this point. Imports are not performed in the Admin Toolkit. Both Excel Imports (for assets like Roles, Org Units, Applications) and BPMN DI-Imports (for existing process models) are carried out in the Design & Document scenario. Learn more about this in our separate Modeller Quick Start Guide that covers these tasks step-by-step. For this Admin guide, simply verify that the necessary scenarios and rights are in place.
Final Checklist
Admin login works and the correct repository is active; ADOmoney is visible by default. The scenario assignments match the credentials sheet (Users → all three scenarios; Readers → Read & Explore only).
Rights correctly reflect read vs. edit in ADOmoney (e.g., CP 0.1 Advise Customer). Read & Explore → General is left at its governance-safe defaults except for setting a repository Start Model if you have a Process Landscape. A release test confirms that a process becomes visible to Readers once Released.
Great job! You’ve successfully completed the first steps in ADONIS! Now you and your colleagues can continue exploring and testing the software at your own pace. To make the most out of your test account, here are useful features and resources:
Explore all extensions for ADONIS, including Process Simulation, Automation and Mining in our BPM Marketplace:
For more insights, know-how, and useful tips:
Free ADONIS E-Learning for you and your colleagues
Already using ADOIT? Discover the possibilities of integration with ADO Connect:
ADO Connect in our Marketplace
Got more questions? Browse our FAQ section for many interesting topics:
For any further questions or concerns, reach out to your BOC contact person!